Hey!

Welcome, and you can check out my posts. But, I don't write here anymore. So, if you are interested, come on over to https://sandhyavaradh.com/
Showing posts with label recipes. Show all posts

Tuesday, September 8, 2020

Paneer-Vegtable Momos (from Momowoman)

This pandemic has stopped the usual Momoman trips my friends and I used to take through the semesters, situated at a ten minute ride from the college campus. So, I decided to make paneer veg momos today, to which a friend promptly said 'Momowoman' when I sent a picture. So, all the credits of that part of the title goes to my friend!

Let me tell you how I made the momos today!

What you need for the dough: two cups of maida, oil, salt, water

1. Prepare the maida dough: take the required quantity of maida, add salt, add a spoon of oil, mix it well, and slowly knead it by adding small quantities of water every time until it becomes a dough. The dough should not be too soft or too hard. This is important because a dough that is too soft or too hard will make it difficult to seal the momos after stuffing the filling.

What you need for preparing the filling: onion, cabbage, ginger, capsicum, carrot, beans, one packet paneer

Other ingredients you can add(but I didn't today): chopped green chilli, ginger, soy sauce

2. Chop all the vegetables. You can chop ginger, capsicum, carrot, onion, and beans finely, while cabbage can be chopped wispy(like how it is inside spring rolls). Grate the paneer evenly.

3. Take a thick bottomed pan, pour a little bit of oil. You can use butter instead of oil if you prefer. 

4. Saute ginger and onions first, until they turn golden. Then put the rest of the vegetables and fry them well until all the wetness of the vegetables dry out. Let the vegetables cook well on low flame. Add paneer, and gently mix it well with the other vegetables. Let it cook for 2-3 minutes. 

5. Add salt and pepper powder as per taste. Mix them all well, and let it cook in simmer for 5 minutes. 

Your dough and filling is now ready. Time to make momos!

6. Take a really small ball of dough. Ideally it is the amount of dough you take to make a poori. Dust the ball of dough in maida, and flatten it to the thin sheet. Make it as thin as you can. The thinner they are, the better the momos!

7. take 1-2 spoons of the filling and heap it in the centre of the flattened dough. Start making frills in the edges and close the filling by bringing the frills to the centre. This is for a round momo, you can check out other shapes that can be given to momos, if you prefer otherwise.

8. Repeat the steps until you are done with all the dough and filling. 

Time to steam the momos!

9. Take steaming deck/steaming plates. I used our idli plates today because they are the perfect steaming decks for this that we already have at home. Crease the plate well with oil. This is very important. Otherwise, the momos will stick to the plate after they are done, and it would be difficult to remove them without tearing the momo.

10. Arrange all the momos on the steaming deck. Take your pressure cooker, and fill the base with water. Take a bowl, fill it up with water and place it in the cooker. On top of this arrangement, place your steaming deck. Close the cooker, and steam for 20 minutes. 

11. After 20 minutes, switch of the gas and wait fro 5 minutes before you open and serve hot!

Time to eat!

The momos today came so well! The shape was slightly bigger and flatter than the ones that we get in the restaurant. But, the taste came out very well. We had it with spicy tomato pickle! It is really simple, and the process may seem elaborate, but I think it is just a matter of getting used to it. It makes for a simple and satisfying dish!

Remember that doing all the small steps like making the dough in the right consistency, creasing the steaming plates, flattening as thin as possible, and other such small tips truly change how the momos might turn out. Do try it out and let me know how it comes!

Sunday, June 7, 2015

Ajji Sarbath


We took a quick weekend trip to Lalgudi, where my grandparents live, before the school reopens. This trip turned out to be absolutely awesome because of many features. One of them was the amazing nannari sarbath in Ajji Sarbath shop, in Lalgudi.


Ajji Sarbath is a seventy one year old shop located in 32, Ichadi Pillayar Koil Street, Lalgudi. It’s an amazing place with amazing sarbath. It also has other items like ice cream and sodas, but the specialty of the place is its sarbath.


Sarbath is a thick concoction of sugar syrup, water and citric acid. When you have a parched mouth, it soothes you down like nothing else!


For those, who have fallen in love with Ajji Sarbath, but cannot go there daily(like us), the place has a bottle of “Lalgudi Ajji Syrup” that you can buy. While preparing, one needs to follow the 1:3 ratio- one part syrup, and three parts water. For those who want chilled sarbath instantly, the 1:3 ratio goes as follows- one part syrup, two parts water, and one part ice cubes. If you can wait for the sarbath to get chilled, then prepare it using the first step, and then refrigerate it. Add lemon to make it better.

As a final note, Ajji Sarbath is one of the best I've ever had. I love it!

Monday, March 31, 2014

Aloo Paratha

alooparatha.jpg

It was Aloo Paratha for dinner today.
Here is how I made it:

1. Prepare chappathi dough.
2. Pressure cook potatoes.
NOTE: Do not forget to put the cooker weight(pressure regulator on top).
3. Take the pressure cooked potatoes, take off the peel, and mash them well.
4. Switch on the gas stove. Place a thick bottomed vessel.
5. Pour some oil and add jeera and omam.
6. Add the mashed potato and mix well.
7. Put the required amount of salt and  a pinch of turmeric(haldi/manjal).
8. Add garam masala to the potatoes and mix well. Let it all cook well. Switch off the gas stove.

The stuffing is now ready!

9. Divide the stuffing into balls and stuff it into the chappathi.
10. Flatten it well.
11. Switch on the gas stove and place a tava.
12. Toast it well in high flame.

Aloo Parathas are ready!!! I made onion raita as side dish. It was very tasty!


Sunday, March 30, 2014

Baigan Bharta

20140330_184701-1.jpg
Hi! Today I did my favourite Baigan Bharta. It is quite simple. Here are the steps:

1. Take a baigan(eggplant).
2. Apply oil all over it.
3. Prick holes on the outer layer of the baigan.
4. Switch on the gas stove. Roast the baigan well in low flame. Switch off the gas stove.
5. Let the baigan cool down.
6. Grind masalas into a fine powder and keep the powder ready.
7. Grind chopped tomatoes, small onions, garlic, and ginger into a fine paste and keep it ready.
6. Now, peel off the outer skin of the roasted baigan.
7. Cut them into small pieces and grind them into a paste.
8. Switch on the gas stove. Place a thick bottomed vessel.
9. Pour some oil.
10. Add chopped onions and fry well.
11. Add the baigan paste to the fried onions.
12. Put a pinch of turmeric(haldi/manjal) and also the needed amount of salt. Mix.
13. Let it cook well.
14. Add the tomato, onion and garlic paste to the baigan.
15. Aso, add the ground masalas. Mix well.
16. Add a little amount of water and cook well.
17. Add karipaththa leaves.
18. Switch off the gas stove after sometime(2-3 minutes).

Baigan Bharta is ready!!! We had it with chappathis and it was very good. My mother roasted the baigan as I couldn't do it. Rest all I did with the help of her instructions.


Saturday, March 29, 2014

Sambar

sambar.jpg

Today’s dinner was dosa, and I did sambar as a side dish.

Here is the recipe:

1. Take a bowl full of water. Soak some tamarind for 5 minutes.
2. Take 1 cup of pasi paruppu(moong dal) and put it in a big bowl. Add chopped radish, carrot, potato and capsicum to the moong dal. Aso, add a pinch of turmeric(manjal/haldi).
3. Pour ample water.
NOTE: Pour water at the bottom of the cooker. Also, do not forget to put the cooker weight(pressure regulator on top).
Pressure cook with 4-5 whistles.
4. Take a thick bottomed vessel and add some oil.
5. Put mustard(kadugu) and fry.
6. Pour the tamarind water and add karipaththa leaves on the fried mustard.
7. Add sambar powder. Mix well.
8. Put the pressure cooked moong dal and vegetables in this and stir.
9. Add the needed amount of salt.
10. Let it cook well for a few minutes.

Sambar is ready!!!

Friday, March 28, 2014

Adai

adai.jpg

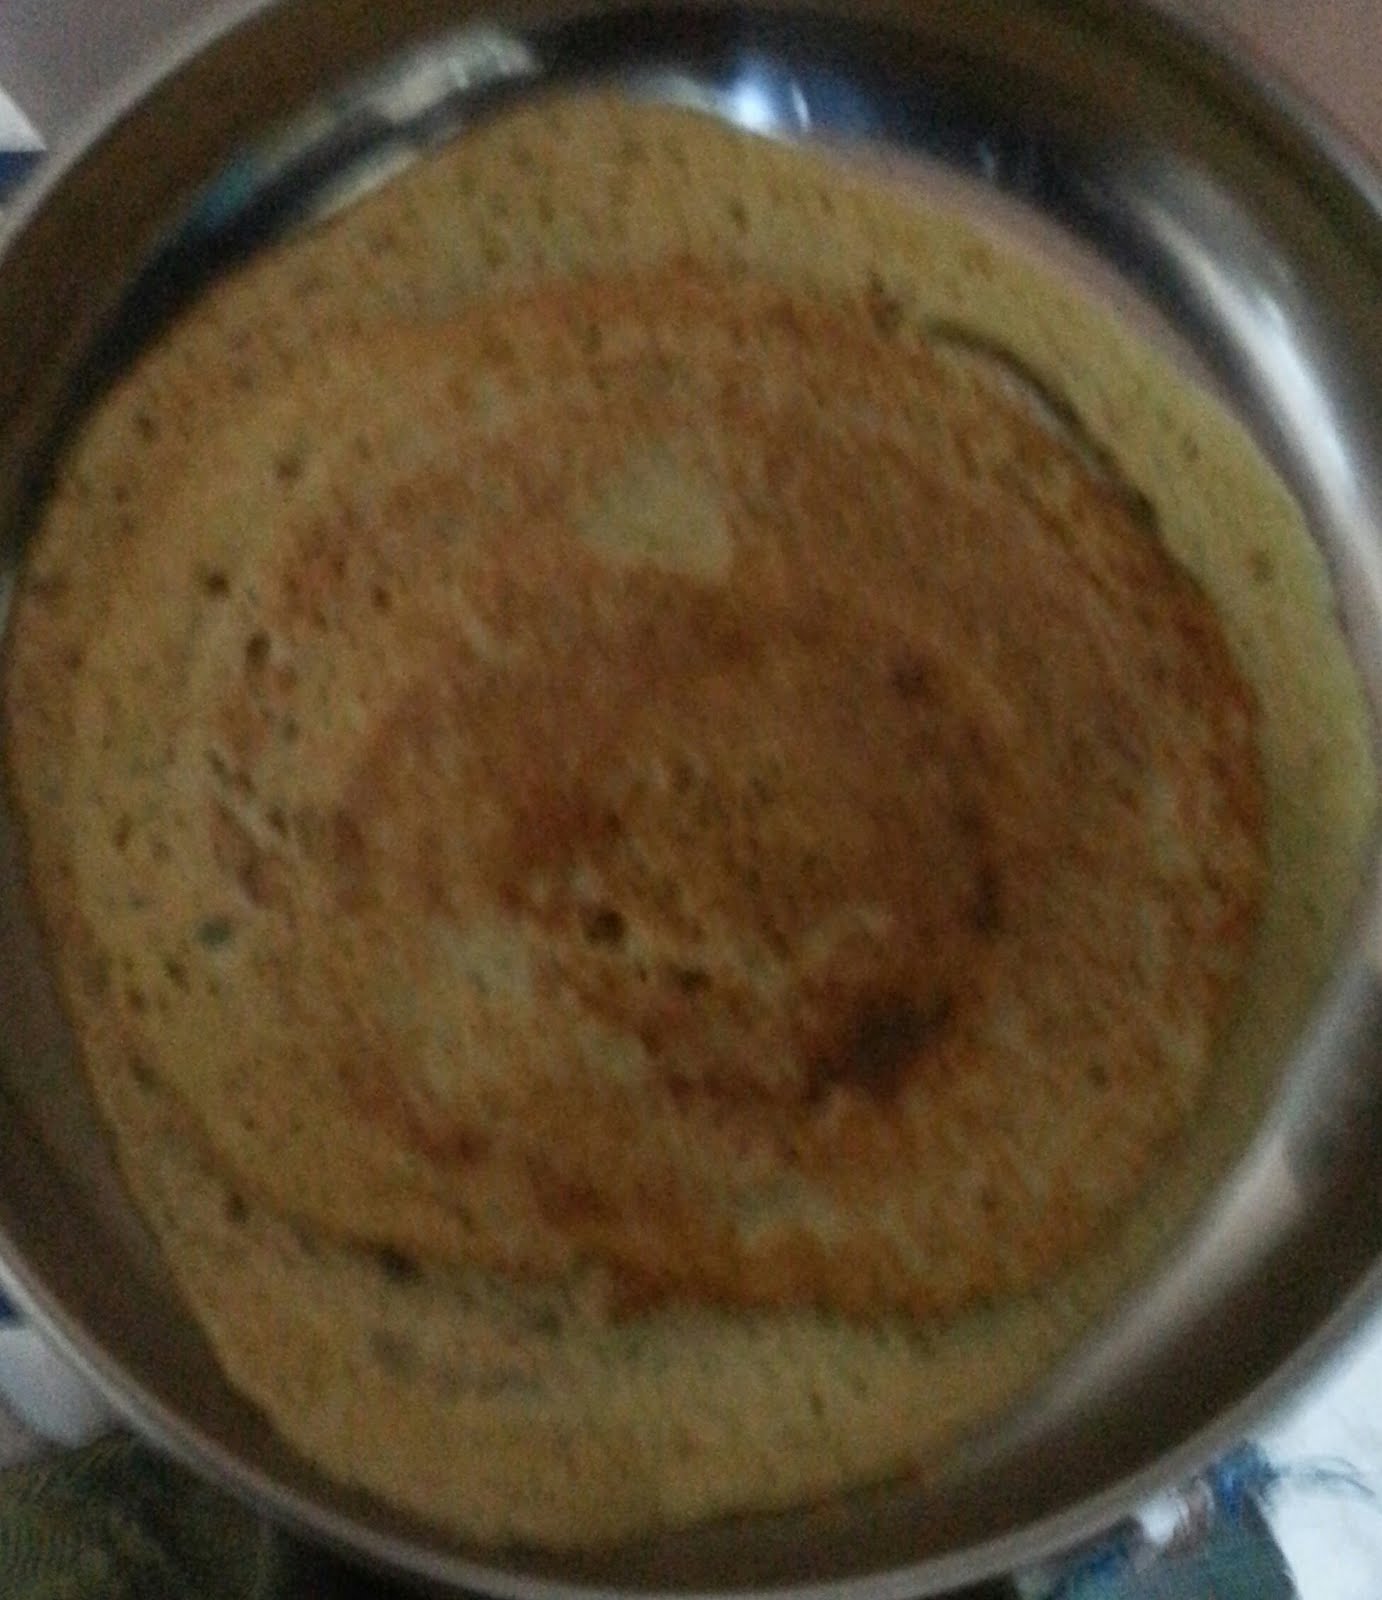
Hi! Adai was today’s dinner. Making Adai from the batter is simple. But, there is a definite process for the batter to be made.

Here is how it is:

1. Take boiled rice, urad dal, channa dal and toor dal.
NOTE: For every two cups of boiled rice(puzhungal arici), add one cup of channa dal(kadalai paruppu), ½ cup of urad dal and ½ cup of toor dal.
2. Soak them in a bowl of water. Leave them soaked for two hours.
3. Take the soaked rice and dals, and grind it into a batter using grinder.
NOTE: You can add chillies and grind according to your preferences.
4. Add the necessary amount of water.
5. Grind it for 15-20 minutes.
6. Transfer the batter into a clean container.
7. Add the needed amount of salt.
8. Add karipaththa leaves to the batter.
And the batter is ready!!!

After this, making Adai is very easy.

(i) Switch on the gas stove.
(ii) Place a tava.
(iii) Spread the batter in a circular shape.
(iv) Add drops of oil around the circle.
(v) Take it off carefully from the Tava and invert it.
(vi) After all sides get roasted, take the Adai off the Tava again carefully, and serve!

Adai is usually eaten with Avial, a type of side dish with mixed vegetables. It is also eaten with butter, or jaggery.

Thursday, March 27, 2014

Palak Paneer

Palak and Panneer.jpg   

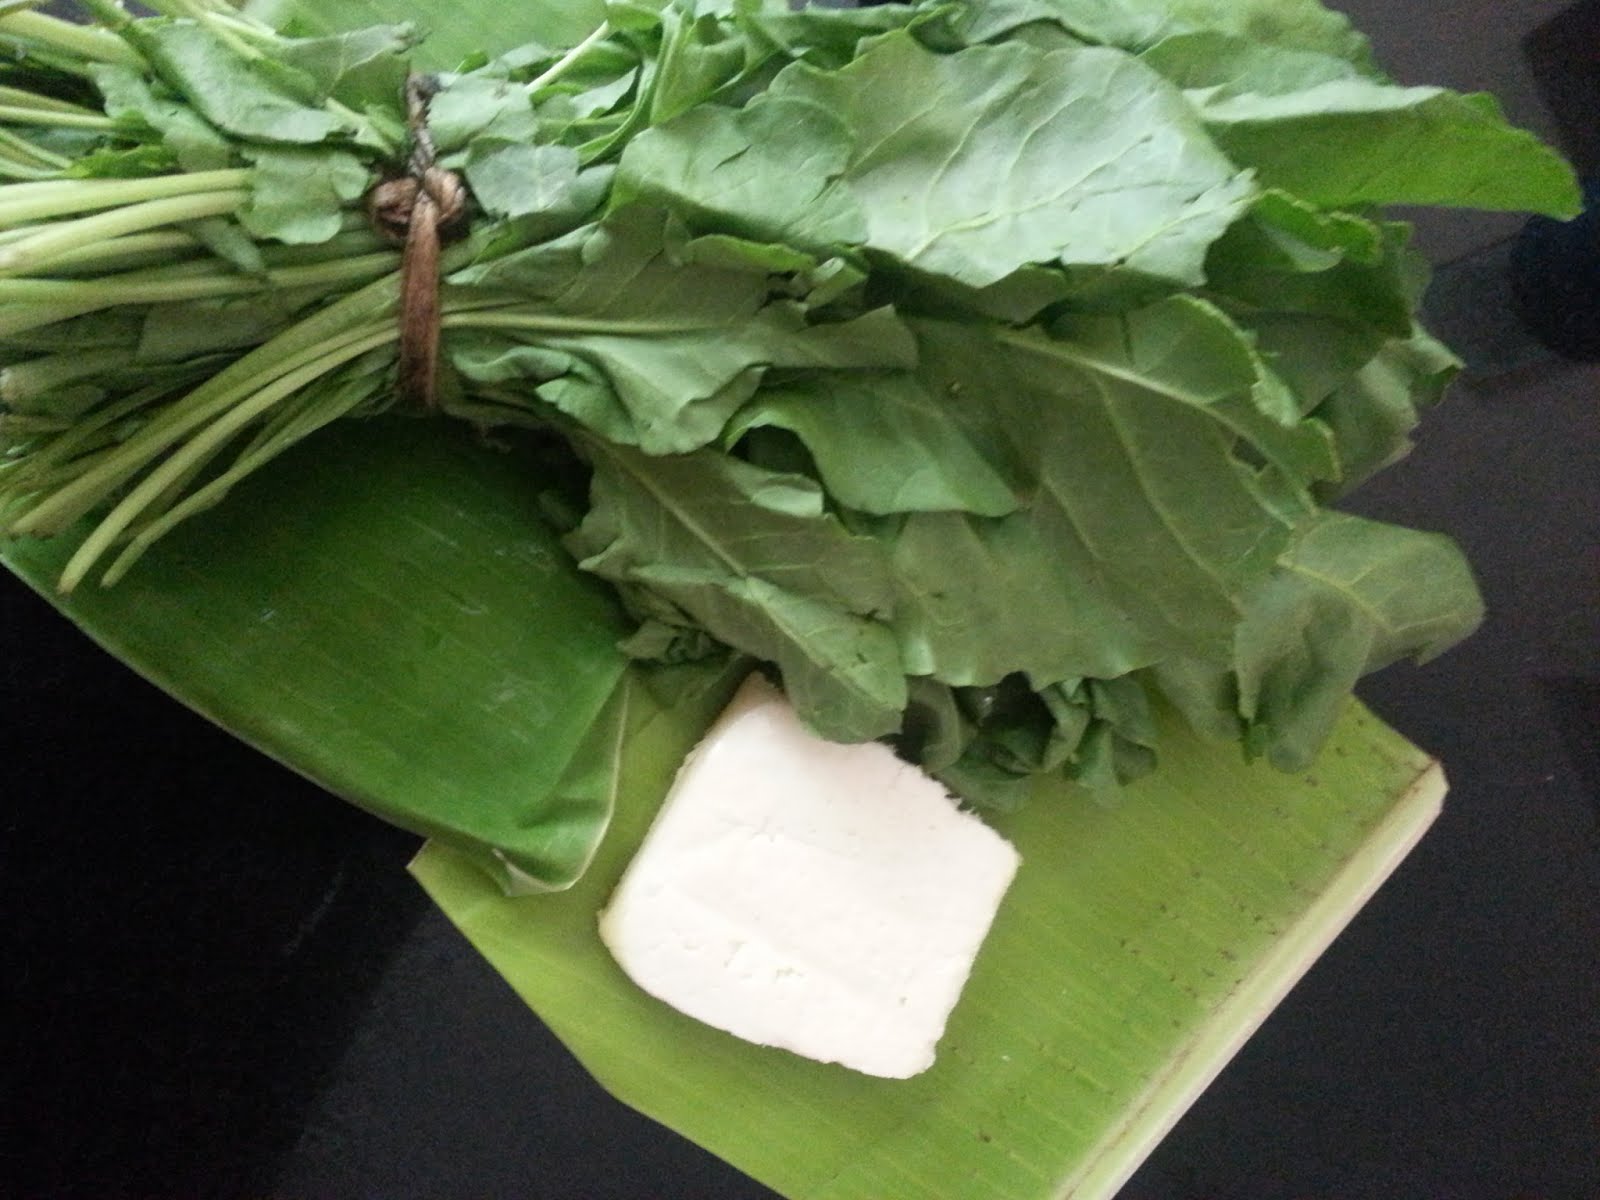
I did Palak Paneer as side dish for chappathis.

Here are the  steps:

1.Light the gas stove. Boil a bowl of water and keep it aside.
2. Place a thick-bottomed vessel on the gas stove.
3. Pour some oil. Put the paneer cubes and fry deeply.
4. After frying, put the paneer cubes in the hot water.
5.Pour some more oil in the thick bottomed vessel.
6. Add mustard(kadugu), jeera, omam, green chillies, and fry well.
7. Add chopped onions and tomatoes to the above.
8. Add the required amount of salt and a pinch of turmeric(manjal/haldi). Mix well.
9. Close the thick bottomed vessel and let it cook.
NOTE: Keep the gas flame low.
10. Take a few small onions(I took 5-6), tomatoes, garlic and ginger, and grind it into a smooth paste using mixer.
11. Add this paste to the the onions and tomatoes and mix well.
13. Take chopped Palak and wash well.
14. Put the palak in mixer and grind this into a fine paste(add a few drops of water if necessary).
15. Add this Palak paste to the gravy.
16. Mix well and let it cook.
17. Allow all the ingredients to blend together.
18. Finally, add the fried paneer(without the water) to the rest and mix.

Palak Paneer is ready!!!
Palak Panneer.jpg

Wednesday, March 26, 2014

Kadalai Paruppu Payasam


Payasam pic.jpg
Today’s special is Kadalai Paruppu Payasam! I did it with the help of my mother’s instructions. 

Here is how to do it.


1. Light the gas stove.
2. Take a thick-bottomed vessel and put some ghee in it.
3. Add cashews, almonds and raisins to the ghee and fry them well. After frying well, switch off the gas stove and transfer these into a cup.
4. Take a plate. Put the needed amount of pasi paruppu(moong dal) and kadalai paruppu(channa dal). 
5. Turn on the gas stove. Fry the paruppu dry in a vessel until they turn golden.
NOTE: Ghee or oil SHOULD NOT be added while frying.
6.Add water to the fried paruppu.
7. Take a cooker. Pour some water at the bottom. Place the plate containing pasi paruppu and kadalai paruppu inside the cooker. Close the cooker.
NOTE: Do not forget to put the cooker weight(pressure regulator on top).
8. Pressure cook the paruppu mixture(I let it stay on until 4 whistles).
9. After the paruppu mixture is ready, take the same thick-bottomed vessel, and add the required amount of jaggery to it. Add water and mix it well with jaggery. Make a solution of water and jaggery.
10. Add the pressure cooked kadalai paruppu and pasi paruppu to the jaggery solution. Mix well.
11. Add the necessary amount of water.
12. Add elakkai(cardamom) powder. Stir well.
13. Switch off the gas stove.
14. Add the fried cashews, almonds and raisins to the payasam.


Kadalai-Paruppu Payasam is ready to be eaten!


Monday, March 24, 2014

You Can Name It

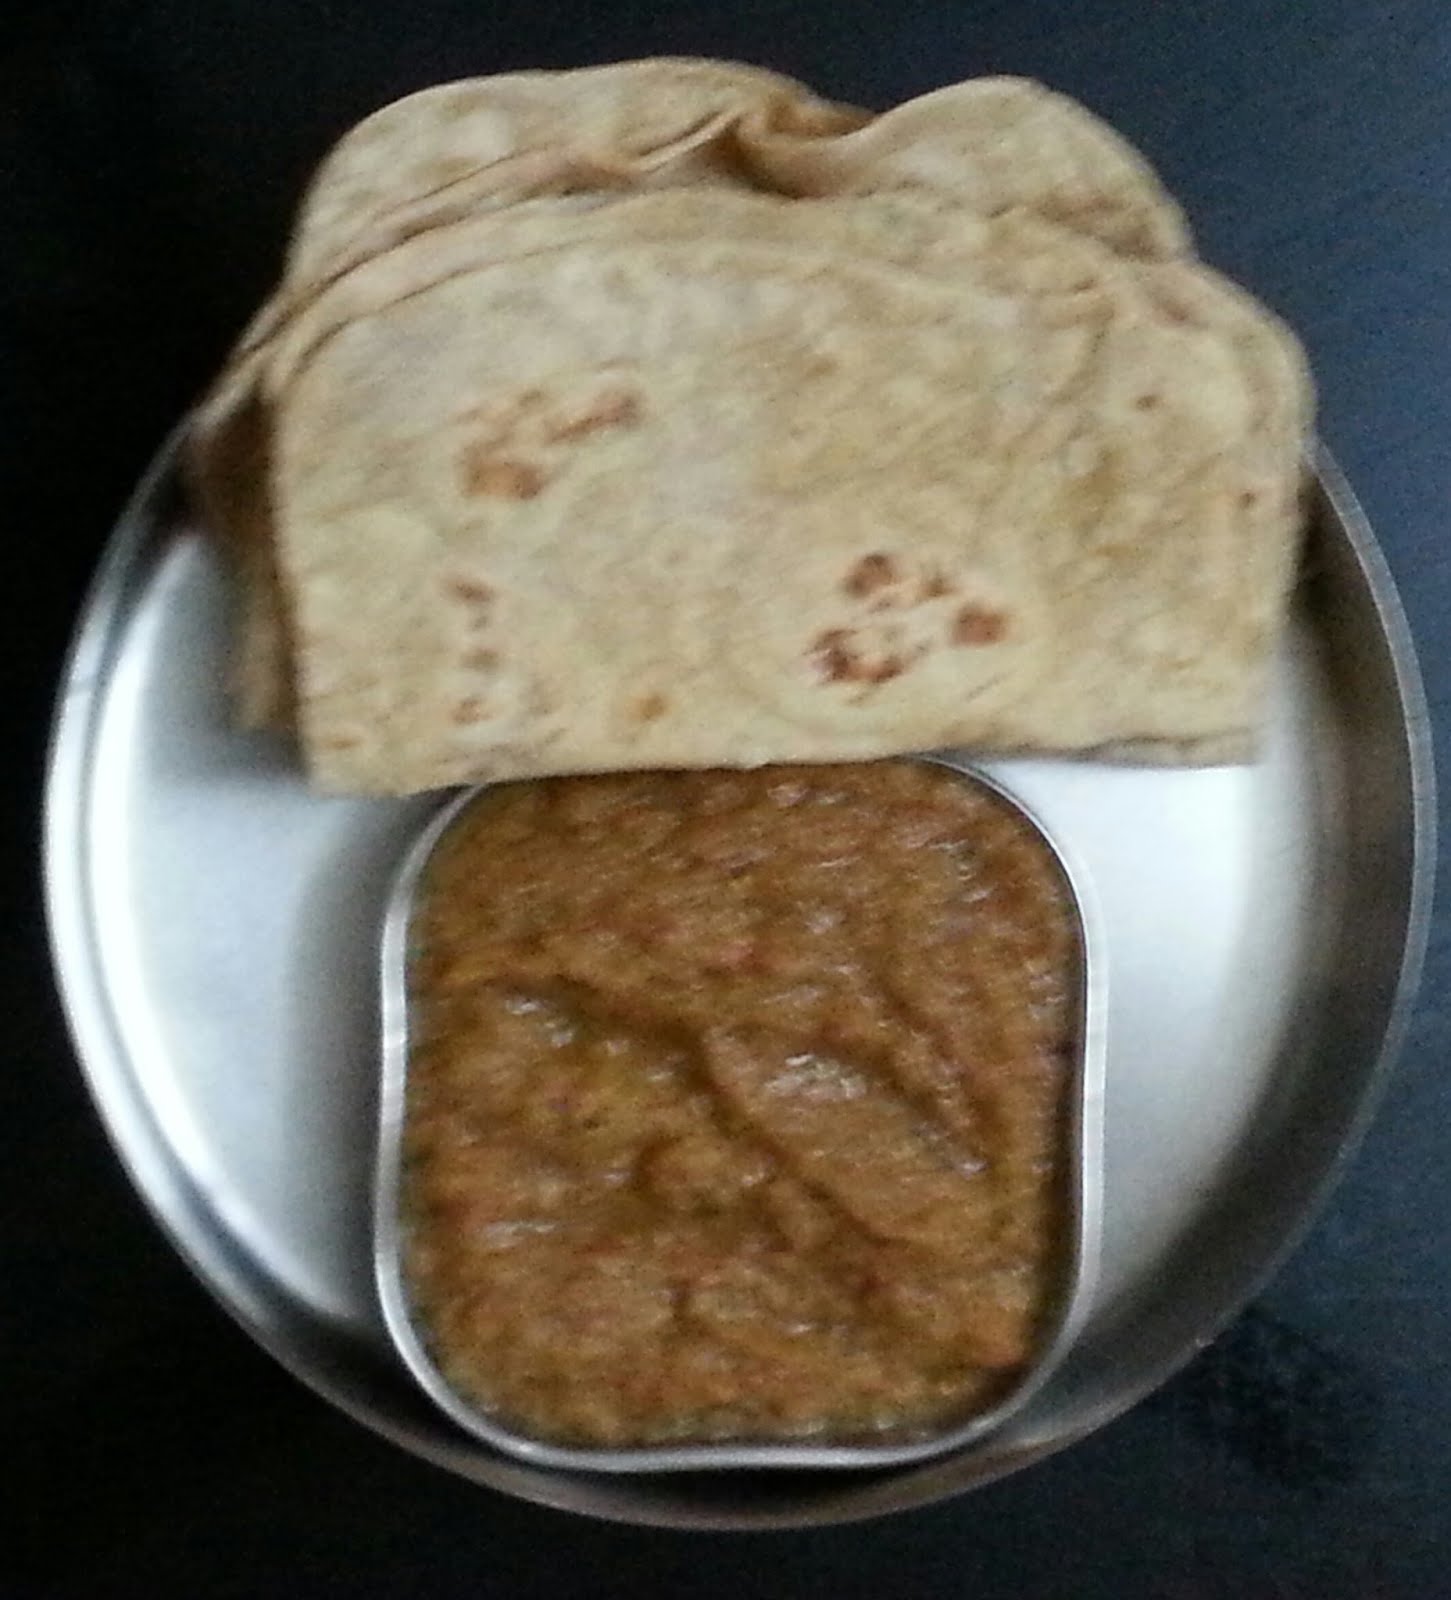
Hello! This is my first step into the kitchen. I did the side dish for the chappathis, today. I am penning this down so that I can refer to this in the future.

Before starting to prepare the dish, pressure cook urad dal and sprouts. Also, chop onions and tomatoes. Keep these ready before doing the rest.
Here are the steps:
1. Take some oil in a thick-bottomed vessel.
2. Put some mustard, jeera, chillies and omam, and fry.
3. After these get nicely fried, add chopped onions and tomatoes, and fry them deeply once again.
4. Add salt and haldi(manjal/turmeric) to the above mixture and mix it well. Allow the mixture to cook well.
NOTE: Keep the gas flame low.
5. Take the pressure cooked urad dal and sprouts, and smash them well. Pour some water on the smashed mixture and mix well.
6. Add the smashed mixture to the fried onions and tomatoes. Mix all well.
7. Add the needed amount of salt.
8. Add karipatha leaves and coriander leaves to the side dish. Mix well.
9. Switch off the gas stove.
10. Take a small measure(we use something called karandi to measure the amount) of the dal and cool it completely. Add few drops of lemon juice in the dal and mix well.
11. Mix this dal with the rest of the dal.
And, the dish is ready to be served! It is very tasty!
I don't really know what to call it. So, You Can Name It!